


本章介绍了hexo的使用及Github/Gitee部署
本案例使用环境:CentOS:7.4,node:12.13.1,hexo-cli:4.2
三、修改Hexo主题
- 上章运行的是Hexo的官方默认的主题配置效果
- 我们当然要改造成自己想要的个性主题
- Hexo的主题推荐:https://hexo.io/themes/
1、选择喜欢的摸板,下载
1 | cd hexo/themes/ |
- 每个模板可能都有自己的插件和样式修改,具体安照模板作者(README.md)操作
2、修改hexo配置
hexo目录下的_config.yml中的theme值:
1 | # ------- _config.yml文件截取 -------- |
3、重新启动:
1 | hexo g |
四、将代码上传GitHub
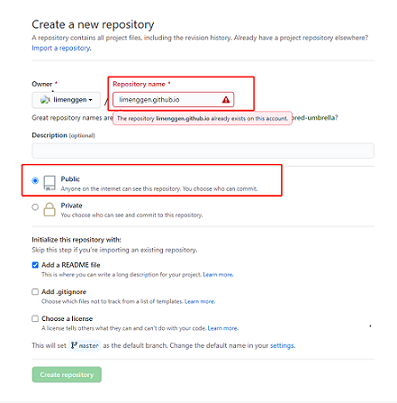
1、注册一个GitHub账号
新建一个Repositories(相当于库),库名:用户名.github.io
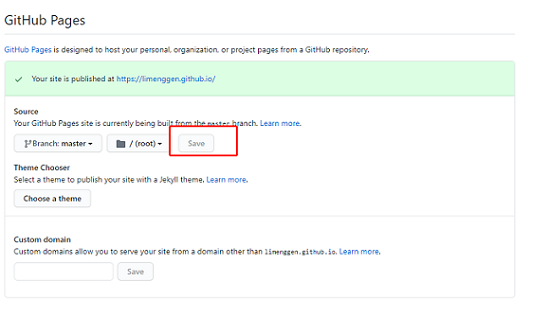
2、设置Pages
创建完仓库,进入Settings,找到GitHub pages设置

3、生成公钥
1 | ssh-keygen -t rsa -C "邮箱地址" |
4、配置公钥
找到Settings -> SSH and GPG keys -> New SSH key:复制内容添加到Key,点击 Add SSH key
5、修改hexo主目录的_config.yml
1 | # ---------- hexo/_config.yml ------------ |
6、上传代码
配置完后,重新生成静态页面,上传代码:
1 | hexo g |
五、将代码上传Gitee
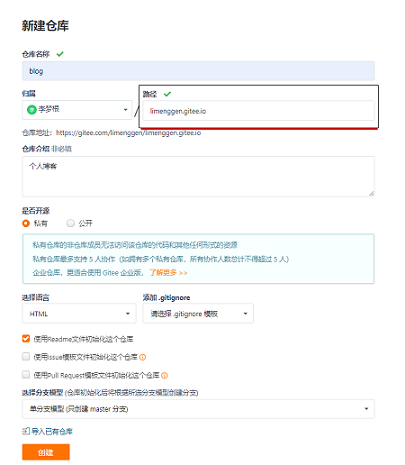
1、注册一个Gitee账号
新建一个仓库,库名:用户名.gitee.io
2、生成公钥:
1 | ssh-keygen -t rsa -C "邮箱地址" |
3、配置公钥
进入新建库找到设置-> 安全设置 -> SSH公钥 -> 添加公钥:将复制内容添加至公钥,确定。
4、上传代码
配置完后,重新生成静态页面,上传代码:
1 | hexo g |
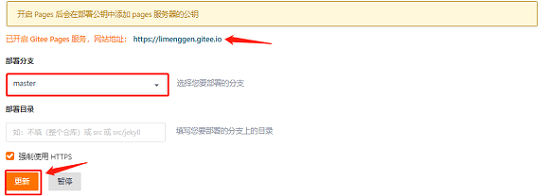
5、上传博客服务
在新建库中找到‘_服务_’,点击‘_Gitee Pages_’点击更新即可!
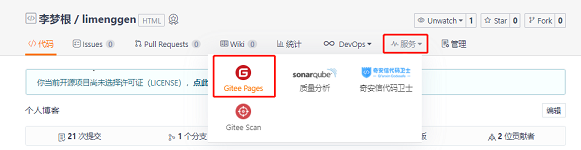
- Gitee每次上传代码都要再次更新!!!
六、使用hexo写博客
1、到hexo目录下:
2
3
4
5
6
7
8
9
10
11
12
13
14
INFO Validating config
INFO Created: /opt/software/hexo/source/_posts/first-blog.md
//
[root@localhost hexo]# vi /opt/software/hexo/source/_posts/first-blog.md
//
---------- first-blog.md ------------
---
title: 使用GitHub/Gitee搭建个人博客(一)
date: 2020-09-25 15:47:18
tags: hexo
---
# 在合适位置加<!--more-->
# 在这编写博客
- 推荐一款在线博客编辑工具:http://pandao.github.io/editor.md/


评论